Most people would love a basketball hoop in their driveway or backyard but don’t know how to install one. It’s not as difficult as you might think. Here are simple instructions to install an in-ground basketball hoop.
Installing In-Ground Basketball Hoop:
Choose The Perfect Location Before Digging
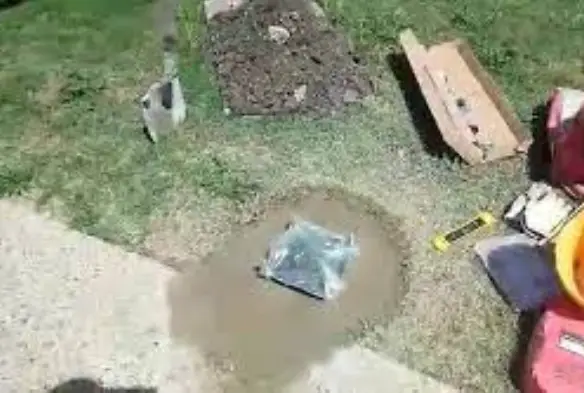
Before you start digging, make sure the installation goes smoothly. You need to pick the perfect spot for your hoop. Choose a level area that’s free of any obstacles.
Dig A Hole
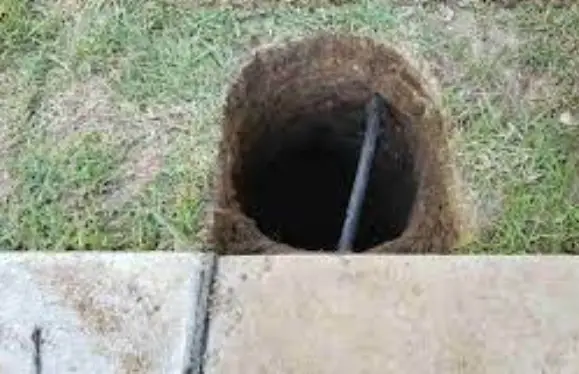
Dig a hole for the pole of the basketball hoop. The depth and width of the hole will depend on the size of the pole. Be sure to make the hole wide enough so that the pole can fit snugly inside. Make sure that the hole is deep enough so that when you fill it with Concrete, the top of the Concrete will be level with the ground.
Mixing Concrete
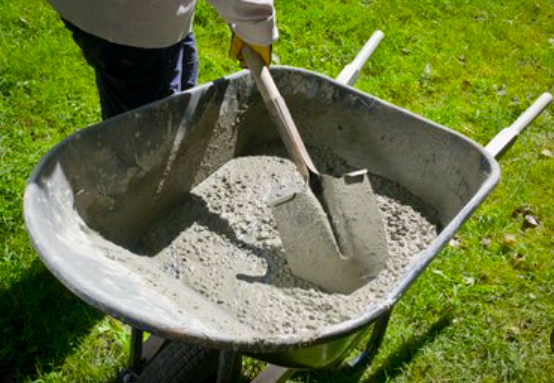
Concrete combines cement, water, and aggregate (sand or gravel). The ratio of these ingredients determines the strength of the Concrete. A good rule of thumb is to use one part cement, two parts sand, and three parts gravel.
To mix Concrete, add the dry ingredients to a wheelbarrow or large container. Then slowly add water until the mixture is the consistency of peanut butter. Once it’s mixed, you have about 30 minutes to use it before it starts to set up.
Raise The Pole
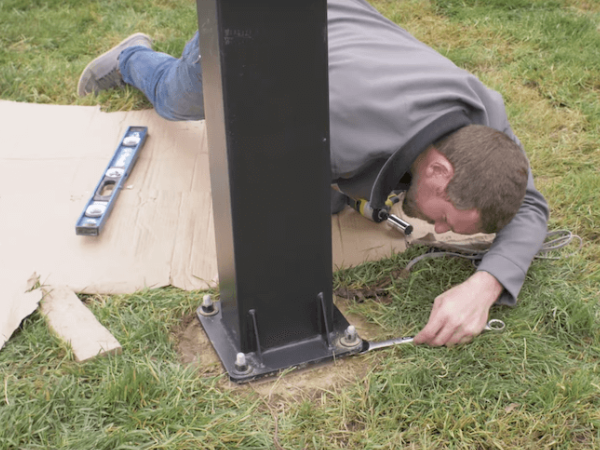
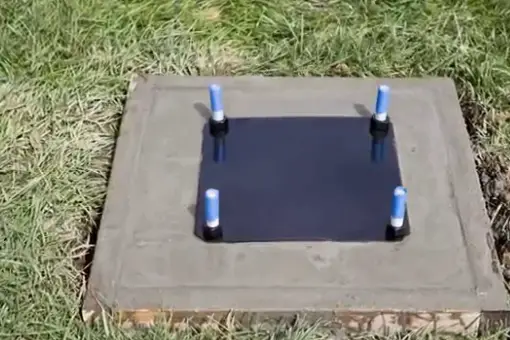
It’s time to raise the pole into place. Ensure that the pole is level before filling in the hole around it. Pour the Concrete into the hole and smooth it out so it’s level with the ground.
Avoid Pouring The Concrete Into Cold Water
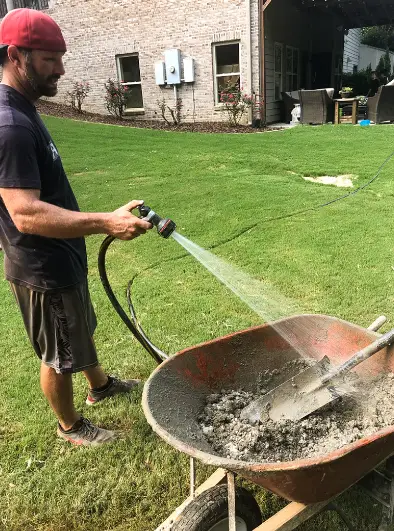
Pouring Concrete in cold water can jeopardize the entire project. Here’s what you need to know about pouring Concrete in cold water:
One of the main reasons you shouldn’t pour Concrete in cold water is that it can affect the curing process. Curing is when the Concrete hardens and sets, a crucial part of the installation process.
When Concrete is poured in cold water, it can take longer to cure, so your basketball hoop might not be as sturdy as it should be. Besides, it can also cause cracking.
Attach The Backboard
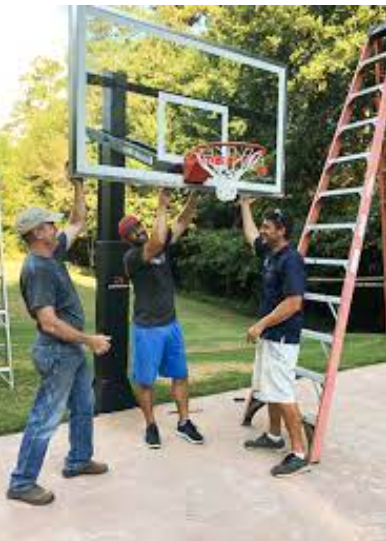
Start by screwing in the horizontal beam to the bottom of the backboard. Then, screw in the two vertical posts to the side of the backboard. Make sure that the posts are level before proceeding. Attach the crossbar to the top of the two vertical posts. Attach the backboard to the horizontal beam and crossbar using screws or bolts.
Install The Rim And Net
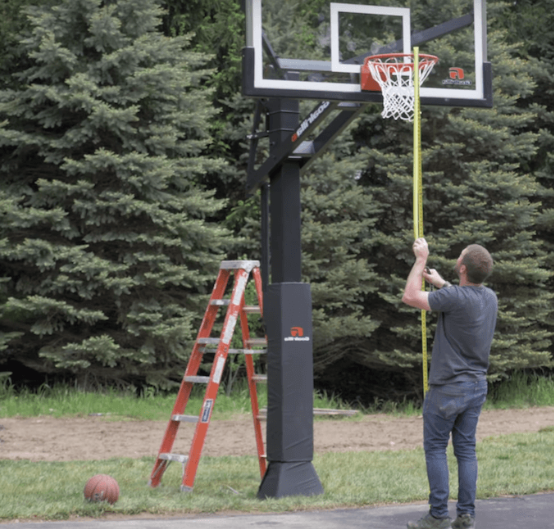
Start by attaching the rim to the backboard. Use the bolts and washers that came with your purchase, and tighten them securely. Take the net and thread it through the holes on the rim. Once it is threaded through, tie a knot at the bottom to secure it.
Why Should You Have A Professional Install Your Basketball Hoop?
Professionals have the experience and know-how to get the job done right. They will consider factors like the type of ground you have and whether it needs to be leveled before installation.
They have the right tools for the job, which means they can do it quickly and efficiently. Having a professional install your basketball hoop ensures that it is done safely and up to code.
Conclusion:
Installing an in-ground basketball hoop is not as difficult as it may seem. With some planning and the right tools, You can have a professional-looking basketball court in your backyard. Just be sure to follow the instructions carefully and take your time.

Clyde Jackson III is a basketball coach and the founder of GCBC Basketball, a basketball-related learning and informational website that focuses on helping young players develop their skills on and off the court. With over 15 years of coaching experience, Clyde has worked with players of all ages and skill levels, from beginners to professionals.

