Quantitative and Qualitative Spalding Ultimate Hybrid Portable Basketball Hoop Review Table
| Aspect | Description | Time/Quantity | Note | |
|---|---|---|---|---|
| Assembly | Took around 4 hours. A few steps require an extra set of hands | 4 hours | Need to be handy with a wrench | |
| Rim | Single spring breakaway with protective cover | – | Exceeds expectations for its price range | |
| Backboard | 54-inch acrylic version chosen | 54 inches | Other options available with varying prices | |
| Support | Three-piece support pole | 3 pieces | Spalding Beast (2-piece) is an alternative | |
| Base | Dual filling system (water & sand) | 19 gallons & 200 lbs | Facilitates easier mobility | |
| Height Adjustment | Ranges from 7.5 to 10 feet | 7.5 to 10 feet | Features a security pin | |
| Overall Price | Acrylic model purchased | – | The tempered glass variant is pricier |
Spalding Ultimate Hybrid Portable Basketball Hoop Buying Journey Performance Review
I’ve been on a quest to find the ultimate hoop for my home, and the Spalding Ultimate Hybrid might just have netted my attention. And I’ve dribbled my way through a few systems, trust me.
Backboard & Size
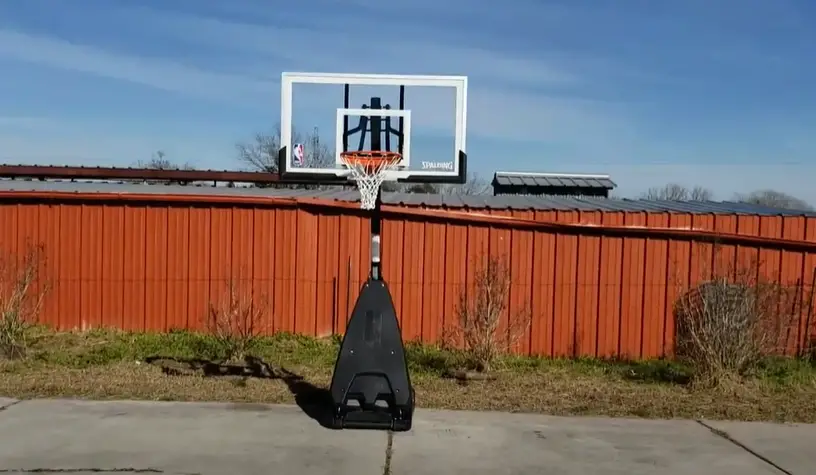
First up, those choices between 60” and 54”? Perfect for my driveway. As I started playing, I felt the tempered glass and performance acrylic board, paired with the arena-style padding, bring a real game vibe. The response? Nothing short of impressive. The 16″ offset kept me confidently clear of the post, even during those aggressive lay-ups.
Adjustability
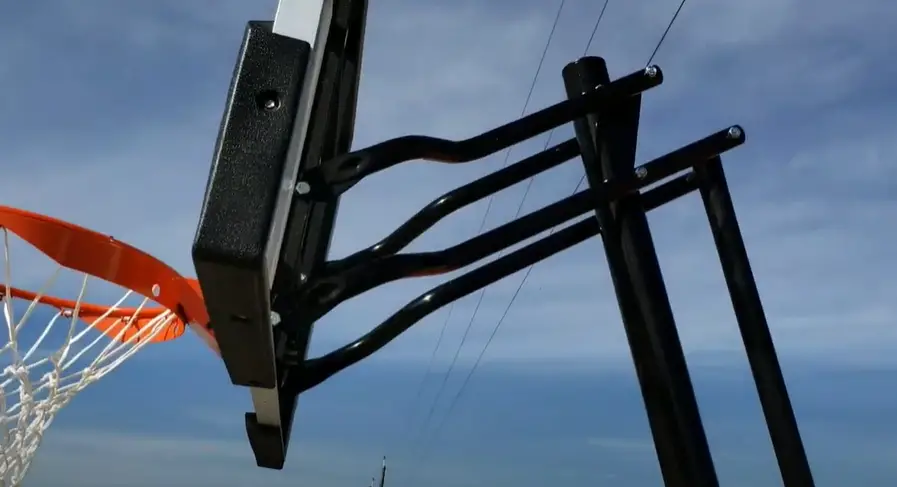
Over the years, I’ve tried hoops that cater to different heights, but this one? Gold standard. Adjusting between 7.5′ to 10′ with the screw jack lift was effortless. Plus, the detachable handle saved me the usual hassles. That 3.5″ oval steel pole with a 20° angle? It sets the Spalding apart.
Base Design
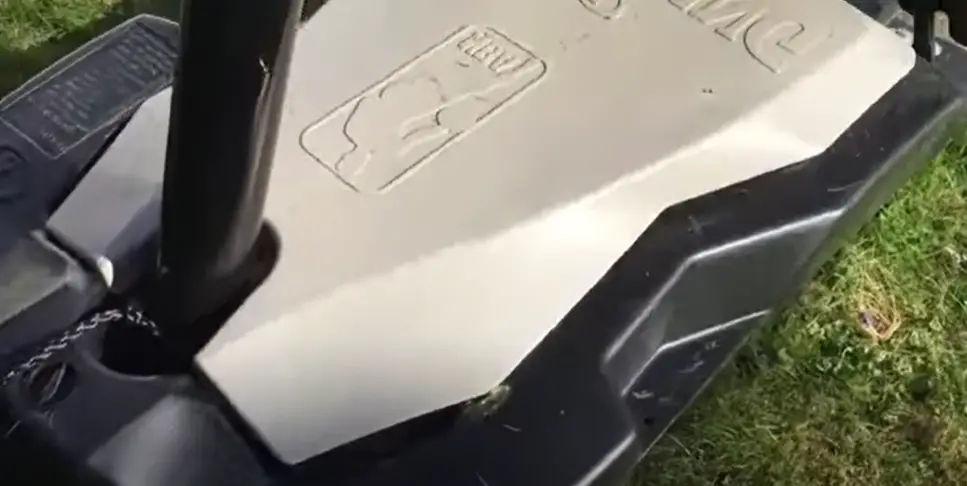
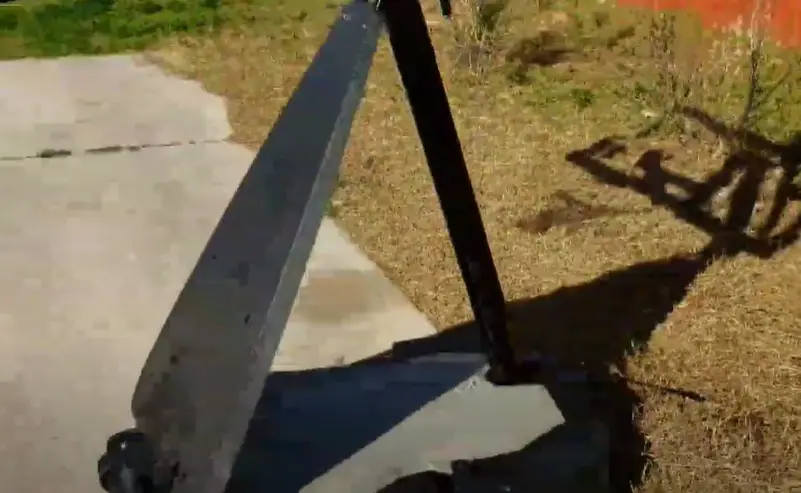
Here’s where I was genuinely surprised. The Ultimate Hybrid base is a blend of sand and water, but the genius part is the cover that hides the mix. My court’s aesthetic? Uninterrupted. With 19 gallons of water and five 50-pound sandbags, I found the stability unmatched. The rebounder, though? Solo practice just got upgraded.
Ease of Assembly
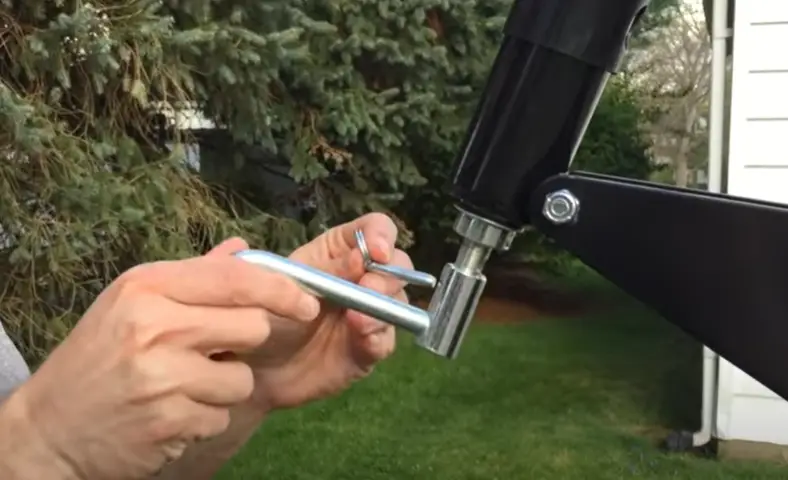
I heard the rumors about its challenging assembly. To be honest, it did test my patience. But, after meticulously following the manual, about 3.5 hours later, I stood proudly beside my assembled hoop. Here’s a tip: get a buddy. When bolting on the backboard, I wished for a third hand.
Extras
The ground stakes ensured it stayed put. The two wheels? A breeze to move around. This hoop, built for the outdoors, has weathered many of my weekend matches. Also, I appreciated the acrylic board’s film protection, a neat feature that showed foresight.
- Size & Material: The options of 60″ and 54″ are versatile for most driveways. The tempered glass and performance acrylic board recreate a professional basketball experience. The arena-style padding and the 16″ offset give a mix of safety and an authentic feel.
- Height Customization: The hoop’s height adjustability is top-notch, with a range between 7.5′ and 10′. The screw jack lift and detachable handle enhance the user experience, making adjustments smooth and hassle-free. The 3.5″ oval steel pole’s unique 20° angle gives it a distinct edge.
- Innovative Base: The hybrid base, which uses both sand and water, is not just stable but also aesthetically pleasing due to its concealed design. The rebounder addition is a major bonus for individual practice sessions.
- Thoughtful Additions: From ground stakes that anchor it firmly to the easy-mobility wheels and the weather-resistant build, this hoop seems ready for anything. The acrylic board’s protective film is a testament to Spalding’s detailed thinking.
- Assembly Process: While I understand the intricacy of such a high-end product, the assembly was more challenging than anticipated. A more intuitive setup or even a tutorial video might have made the process smoother.
- Backboard Bolting: The moment of mounting the backboard felt like a two-person job, maybe even three. An easier mechanism or a temporary support feature could be beneficial here.
- Manual Enhancement: For its price and quality, I’d expect a clearer manual with perhaps more visual aids. Highlighting tricky parts and offering troubleshooting tips would be a great addition.
- Base Mobility: The unique hybrid base is a selling point, but given its weight when filled, the wheels could be sturdier or bigger for better maneuverability across different surfaces.
- Additional Accessories: With such a well-thought-out product, I was hoping for a few more accessories or add-ons, like perhaps a ball holder or integrated hooks for equipment storage.
- Price Consideration: Again, while it’s an advanced hoop system, I do wish that the pricing was more competitive, especially when taking the assembly challenges into account.
How to setup and assemble Spalding 54″ Basketball System?
Setting up your Spalding 54″ Basketball System might seem daunting initially, but by following this tutorial, you’ll have a professionally installed hoop in no time.
1. Unboxing and Preparing:
- Upon arrival, your system will come in three boxes, and sometimes, you might receive a bonus basketball.
- Even if the outer box seems slightly damaged, Spalding packs the contents well. Double-check all components for damage.
- You will receive two instruction manuals, one in English and another in Spanish. Ensure you study the English manual thoroughly before starting.
2. Wheel and Base Assembly:
- Be mindful of the bracket orientation.
- Fasten the lower pivot bracket to the wheel assembly.
- Using a bolt, attach the disc and secure it with a nut.
- Slide the axle through the wheel bracket and affix the wheels using the push caps. Gently tap them in place with a hammer, ensuring not to overtighten.
3. Tube Assembly:
- Recognize the tube orientation; the shorter end should be under the wheel bracket.
- Attach the wheel assembly to the ‘youth bracket’ with bolts and nuts.
- Join the handle to this assembly using carriage bolts and nuts. Ensure all components are tightened properly.
4. Backboard Assembly:
- Before starting, ensure the backboard is at its lowest setting. This aids in easier assembly.
- Clean the backboard glass surface for the adhesive foam pad. The foam pad will have six holes. Use the two round holes and the two oval ones on opposite sides. First, align the pad using the adhesive side up with the holes, place the spacers, flip it, and attach it onto the glass backboard.
- After positioning the foam pad, you can proceed to attach the rim assembly to the foam pad using the provided bolts, washers, and nuts.
5. Screw Jack & Height Adjustment:
- Attach the screw jack and fasten the cap to the top end bracket with a bolt and nut.
- For the system’s height adjustment, slide the adjustment label to the front of the pole. The standard height should be 7.5 feet from the bottom of the rim to the playing surface.
6. Net Assembly:
- Use the long end of the net and slip it onto the rim hooks. Adjust as needed.
7. Completing and Testing:
- Fill the base with water up to the recommended level for stability. The system remains stable even if not filled to the brim.
- Play a few test shots to ensure the system’s stability and the bounce of the board.
8. Potential Challenges:
- Combining the top and bottom part of the main column is challenging. This process might require significant force and is better done with two people. Sanding the parts ahead of time can ease the assembly. The parts should fit snugly but be careful not to damage the column during this step.
- Ensure you don’t miss any washers or bolts. No parts should remain unused by the end of the assembly. If any are left over, cross-check with the instruction manual.
9. Final Thoughts:
- The assembly process can be intensive, so it’s recommended to have at least two people working on it.
- Carefully read the instruction manual. Despite its complexity, following it closely will prevent mishaps.
- Once set up, the Spalding 54″ Basketball System provides a sturdy and professional playing experience, making all the effort worth it.
Frequently asked questions (FAQs)
A hybrid basketball hoop refers to a hoop with a base designed to be filled with multiple stabilizing materials, usually both water and sand. This combination aims to optimize stability and weight distribution.
Yes, hybrid portable basketball hoops are generally safe when used correctly and maintained properly. The combination of sand and water in the base enhances stability, making it harder for the hoop to tip over. However, safety precautions should still be taken:
- Ensure the base is filled to its capacity with the recommended materials.
- Regularly inspect the hoop for any signs of wear or damage.
- Position the hoop in a safe location, away from traffic or other hazards.
Hybrid portable basketball hoops are equipped with wheels to facilitate movement. While they can be moved more easily when the base is empty, they become heavier and more challenging to move once filled with water and sand. It might require more effort or multiple people to shift them when filled.
While many hybrid portable basketball hoops are sturdier due to their hybrid base, caution is still advised when dunking. The act of dunking can put significant stress on the system. Some hoops are designed to handle dunks, especially those with breakaway rims. However, it’s essential to ensure the base is adequately filled and weighted to prevent tipping. Always consult the manufacturer’s guidelines and safety recommendations before attempting dunks.
In my journey to find the best hoop for my home, the Spalding Ultimate Hybrid stands tall. It’s not just a product; it’s a testament to thoughtful design and user experience. While it has a few quirks, the benefits overwhelmingly dunk over them.

Clyde Jackson III is a basketball coach and the founder of GCBC Basketball, a basketball-related learning and informational website that focuses on helping young players develop their skills on and off the court. With over 15 years of coaching experience, Clyde has worked with players of all ages and skill levels, from beginners to professionals.

