A basketball backboard can last for many years with proper care and maintenance. However, there may come a time when it needs to be replaced. Here are a few things to remember when replacing a basketball backboard.
- Consider the size of the backboard.
- Next, take into account the type of backboard you have.
Replace Basketball Backboard:
Here is a step-by-step procedure on how to replace a basketball backboard.
Step 1: Lay The Basketball Goal On Its Side
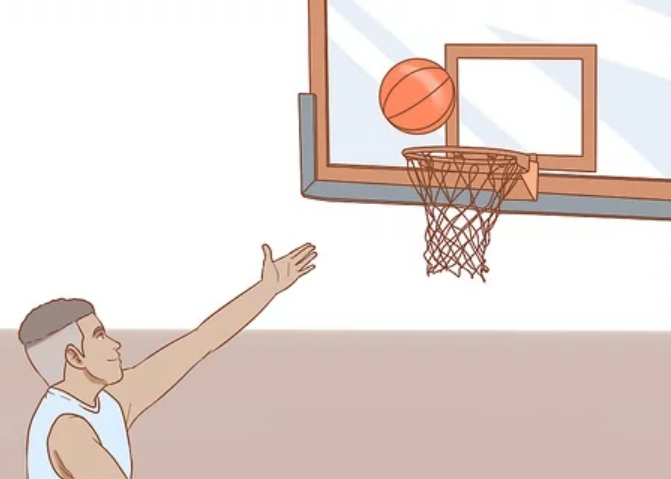
If your basketball goal needs a new backboard, follow these steps to ensure a successful replacement.
The first step is to lay the goal on its side. This will make it easier to work on and prevent the backboard from shattering if it falls.
Step 2: Measure Your Backboard
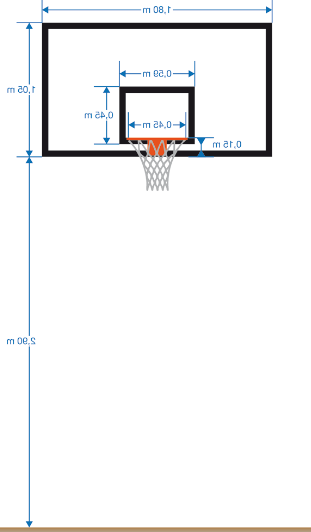
It is essential to measure the existing backboard to ensure you are purchasing the correct size backboard.
- Start by measuring the width of the backboard. Backboards typically range in width from 44 to 72 inches.
- Next, measure the height of the backboard from the top of the mounting bracket to the ground. Backboards can range in height from 36 to 60 inches.
- Finally, take a look at the thickness of your backboard. The thickness can range from 1/2 inch to 1 inch. As you shop for a replacement backboard, keep these measurements in mind to find a backboard that will fit perfectly in your space.
Step 3: Remove The Rim
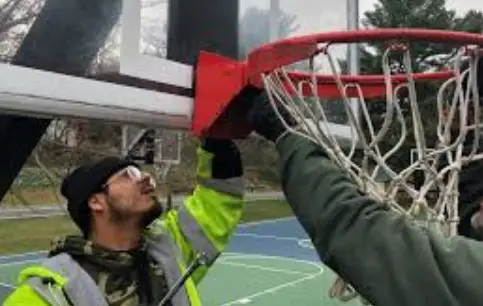
After you have loosened the screws or bolts holding the backboard, you will need to remove the rim. The rim is what the net is attached to and is usually made of metal.
To remove the rim, you will need to unscrew the bolts or screws that are holding it in place. Once you have removed the bolts or screws, you can lift the rim off the backboard.
Step 4: Remove The Old Backboard Material
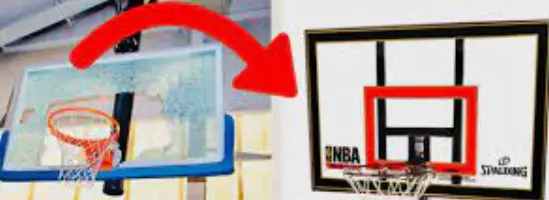
Begin by unscrewing the four screws that hold the backboard in place. Once the screws are removed, you can carefully take down the backboard. Be careful not to damage the surrounding wall or ceiling when removing the backboard.
Step 5: Drill Holes To Mount The Rim
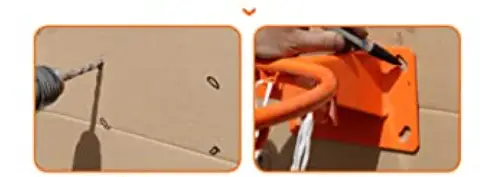
Now that the bolts are in place, it’s time to drill holes to mount the rim. This is a relatively simple process, but there are a few things to keep in mind.
Step 6: Spread Adhesive On The Backboard Frame
To spread the adhesive, apply a layer to the back of the frame. Then, spread the adhesive evenly over the surface using a putty knife or other similar tool. Be sure to apply enough adhesive to be visible on the back of the frame.
Step 7: Set The Backboard
Once the adhesive is applied, carefully place the backboard onto the frame. Make sure that it is level and flush with the edge of the frame before pressing it into place. Allow the adhesive to dry for 24 hours before moving on to Step 9.
Step 8: Attach The Rim
It is time to attach the rim. You will need a drill to create pilot holes for the screws. Attach the screws through the pilot holes and into the backboard.
Step 9: Secure With Screws
Be sure you are screwing into something solid so that the backboard will be securely attached. You may need to use washers on the screws to ensure they are tightened correctly.
Step 10: Let The Adhesive Dry.
It’s essential to let the adhesive dry completely. Depending on the adhesive you’re using, this could take anywhere from a few hours to a day.
Now that the backboard is in place, it’s time to stand up the hoop and ensure it’s stable. After everything is in place, it’s time for a quick test to ensure the backboard is secure and won’t move around. Give it a few good bumps and see if it wobbles at all. If not, then you’re all set!
Can I Replace My Spalding Backboard?
Yes, you can replace your Spalding backboard.
How Do I Find My Spalding Model Number?
The Spalding number is usually stamped into the back of the backboard. If it’s not there, or if it’s faded and you can’t read it, there are a few other places you can look.
- The first place to check is on the rim. Often, the model number is stamped onto the rim itself.
- If you don’t see it there, try looking at the support poles that hold up the backboard. The model number should be printed somewhere on those as well.
- If you still can’t find your model number, call Spalding customer service at 1-800-4SPALDING. They should be able to help you identify your backboard from the serial number that’s printed on it.
Conclusion:
Replacing a basketball backboard is not as difficult as one might think. Anyone can do it with the right tools and a little know-how.
When the backboard on your basketball goal shows signs of wear, it’s time to replace it. Backboards can be made of different materials, but the most common type is a tempered glass backboard. Tempered glass is strong and less likely to shatter if it’s hit with a hard object, like a basketball. Replacing the backboard on a basketball goal is easier than you might think.

Clyde Jackson III is a basketball coach and the founder of GCBC Basketball, a basketball-related learning and informational website that focuses on helping young players develop their skills on and off the court. With over 15 years of coaching experience, Clyde has worked with players of all ages and skill levels, from beginners to professionals.

