Assembling a lifetime basketball hoop is an easy and fun project that can be completed in a few hours. With the right tools, some patience, and following the instructions carefully, you can have your very own basketball hoop set up in no time. This article will provide detailed step-by-step instructions on assembling a lifetime basketball hoop easily.
Assembling A Lifetime Basketball Hoop:
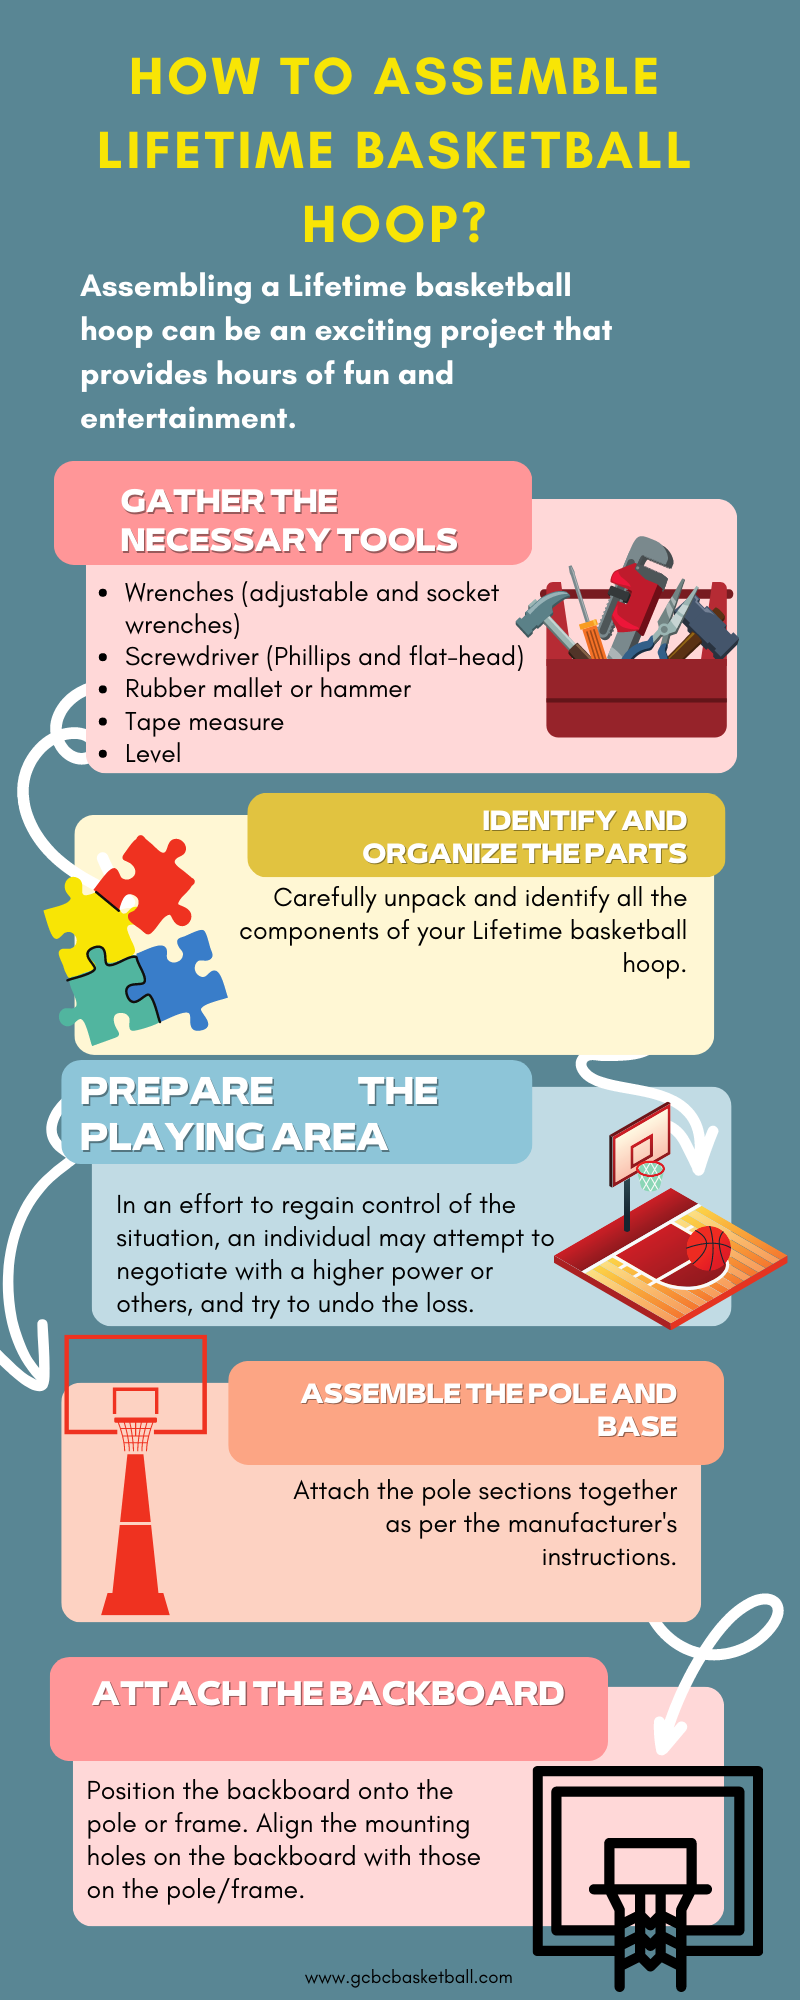
Step 1: Prepare the Area
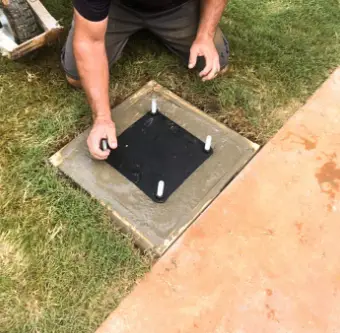
First, ensure that you have an appropriate space for assembly. It should be level and clear of any objects or debris that could interfere with construction. Once everything is cleared out, lay down some plywood on the ground, so it’s flush with the surface of your yard; this will provide extra stability and help protect against damage when drilling into concrete.
Step 2: Unpack Parts
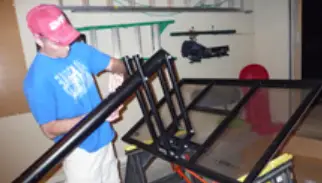
Lay the pieces flat, such as on a workbench or tabletop. Before proceeding, note any missing pieces or hardware that may be absent from your order. Make sure to double-check with the manufacturer if anything appears incomplete.
It’s important that each piece is accounted for and organized accordingly to make assembly easier down the line. All hardware should be separated into small bags based on size and use, with labels attached, so you know exactly where everything belongs when it comes time to assemble your basketball hoop.
Step 3: Assemble Pole
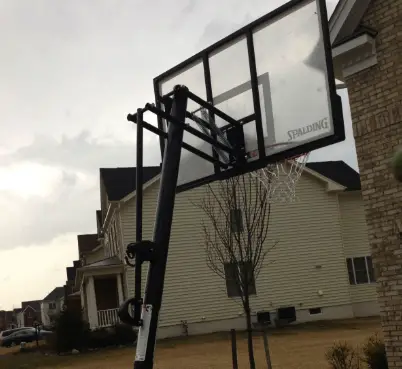
- Line up the post with the opening in the plastic base and insert it into position.
- Ensure that both parts are properly aligned before continuing to secure them together.
- Using bolts included with the package, attach each side of the post to either side of the base respectively; ensure they are securely fastened in place by tightening each bolt as much as possible without stripping its threading.
Step 4: Attach Backboard
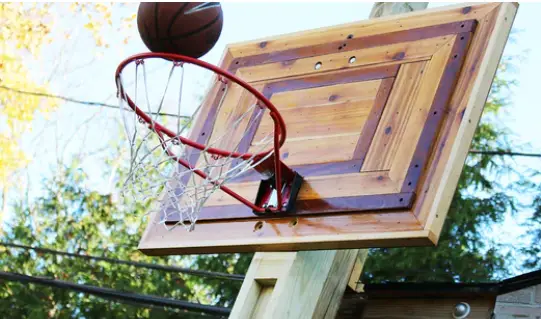
Use your drill and screws to firmly secure the board by screwing it into each hole in both metal poles. Make sure they are tightened properly so that there is no wiggle room or instability from any direction when pressure is applied during use.
Step 5: Attach Rim
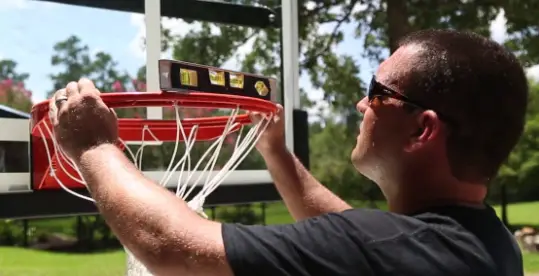
To attach the rim, ensure that the backboard and pole are securely connected. Place the rim on top of the backboard and hold it firmly while you drill holes for the mounting screws. Secure each screw through both sides of the backboard into each rim hole. Use a wrench to tighten all screws, so they are firmly secured.
Step 6: Add Accessories
Consider items like a net or ball return system to help improve gameplay. Depending on the model you choose, there may be options to add built-in LED lights around the perimeter of the backboard, so you can enjoy shooting hoops day or night. Another great option is an adjustable base which will allow you to change the height of your hoop as needed depending on age and skill level.
How Long Does It Take To Put Together A Lifetime Basketball Hoop?
Depending on your familiarity with putting things together, it normally takes around two hours from start to finish. This includes unpacking all the pieces and components and tightening bolts and screws.
How Much Concrete Do I Need For A Lifetime Basketball Hoop?
It’s recommended that 8-14 bags of ready-mix concrete are used for installation. This should provide enough support for your pole and keep it from wobbling when the ball hits the backboard.
Types Of Lifetime Basketball Hoops:
Standard Lifetime Basketball Hoops:
Standard lifetime basketball hoops consist of an adjustable pole system that allows for height adjustment from 7.5 feet up to 10 feet tall. These systems also come with a steel-framed backboard and all-weather netting, making them a great choice for outdoor use.
Pro Courtside Models:
Pro courtside models feature pole systems with 3 sections instead of 2, allowing them to adjust from 5 feet up to 10 feet in height and provide additional stability due to their larger base and backboard frames made from aluminum or tempered glass.
Average Price Of Lifetime Basketball Hoops:
The average price of a lifetime basketball hoop can vary depending on the size, material, and features. A basic setup could cost anywhere from $100 to $400, while a more deluxe version may range up to around $700 or more. Knowing how much you are willing to spend and what features are important to you is key when selecting the right hoop for your needs.
Conclusion:
Assembling a lifetime basketball hoop can be easy if you take it one step at a time. Make sure to read the instructions carefully and enlist assistance from friends or family if necessary. Having the right tools and following the appropriate steps will ensure that your basketball hoop is properly assembled, stable and safe for use. With just a few simple steps, you can have your lifetime basketball hoop ready for backyard fun in no time.

Clyde Jackson III is a basketball coach and the founder of GCBC Basketball, a basketball-related learning and informational website that focuses on helping young players develop their skills on and off the court. With over 15 years of coaching experience, Clyde has worked with players of all ages and skill levels, from beginners to professionals.

