Installing a free-standing basketball hoop is an excellent way to bring the joy of basketball to your backyard. Whether you want to practice shooting hoops with friends or encourage your children to stay active, choosing the right basketball hoop for your needs is important. Goalrilla is one of the most popular brands of basketball hoops due to its high-quality construction and durability.
Step-By-Step Procedure To Install The Goalrilla Basketball Hoop:
Materials Required:
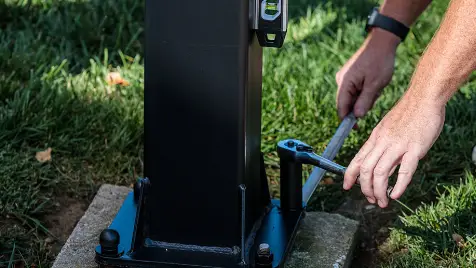
Before beginning, it is important to ensure that you have all the necessary materials required for installation.
- An adjustable post
- Backboard panel with mounting hardware
- Two concrete expansion anchors
- Four bolts with nuts and washers
- Pole padding kit (if desired)
- Drill bit set and electric or cordless drill/driver combo unit
- Steel auger/post hole digger if necessary.
- Sandbags or cinderblocks
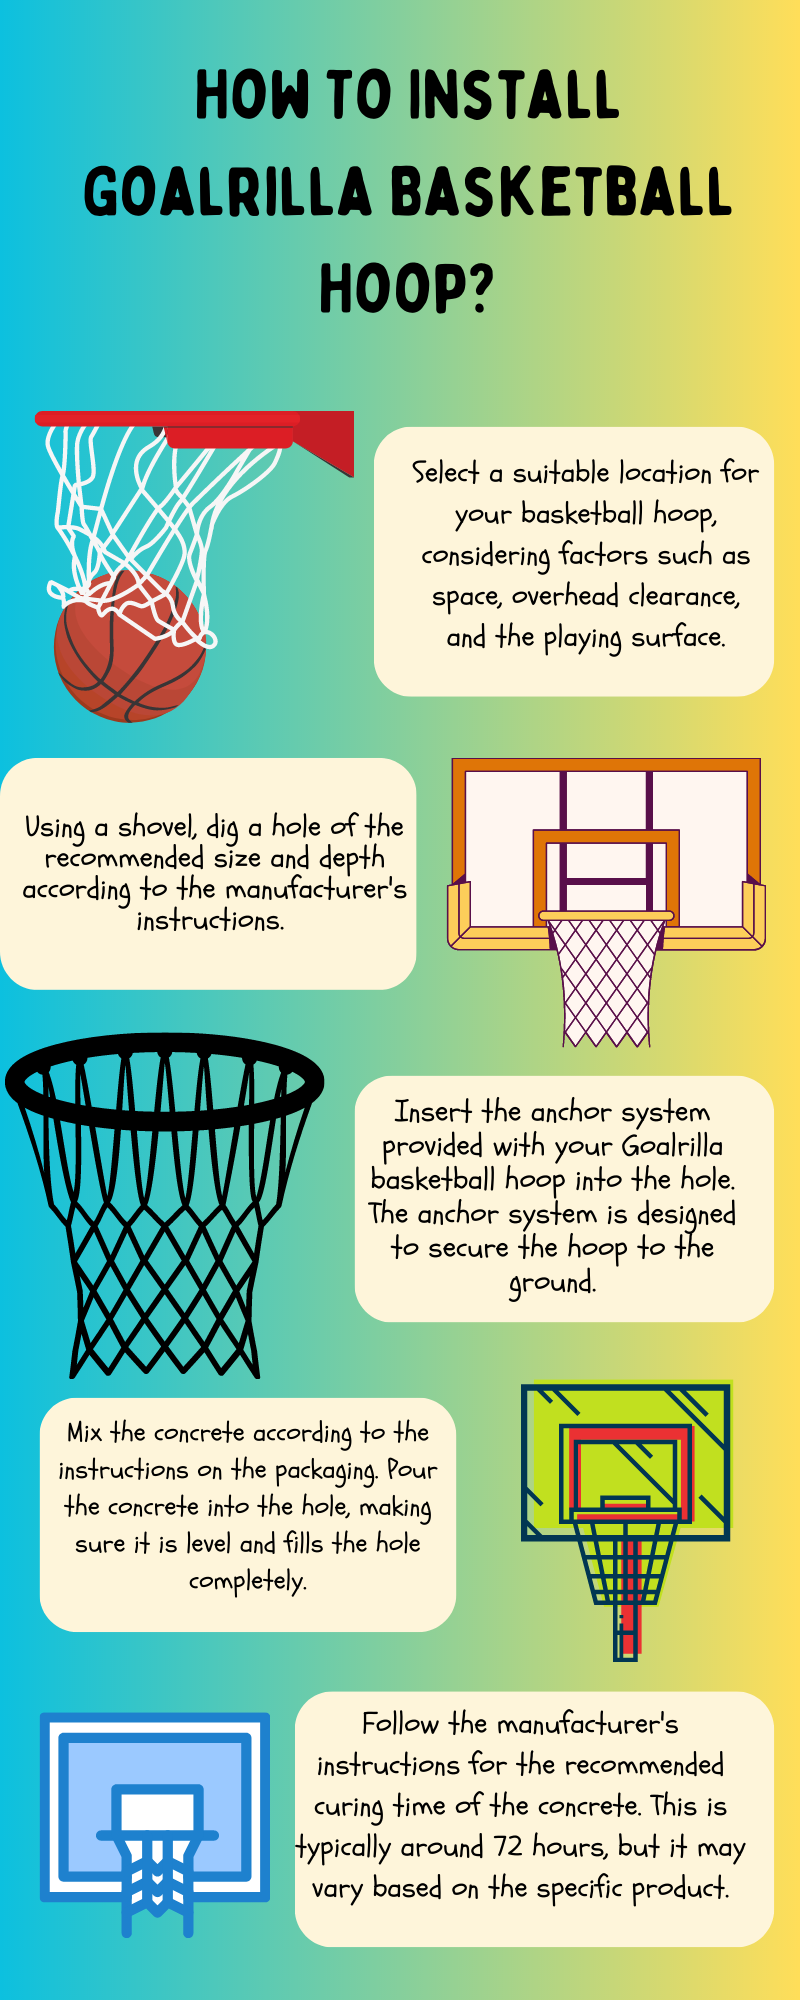
Step1. Prepare The Area
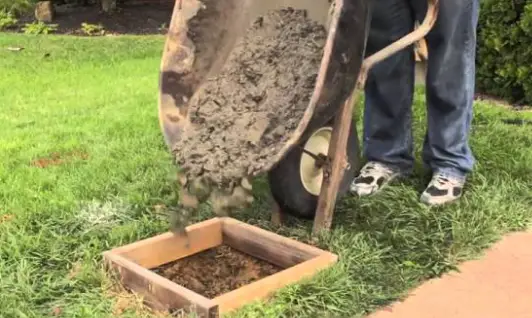
The first step in installing the Goalrilla basketball hoop is to prepare the area where it will be installed. You should clear any debris from the site and level off any bumps or slopes to create an even playing surface for your future court. Make sure that you measure twice before setting up so that you don’t end up with a crooked or uneven setup.
- Identify The Anchor Points
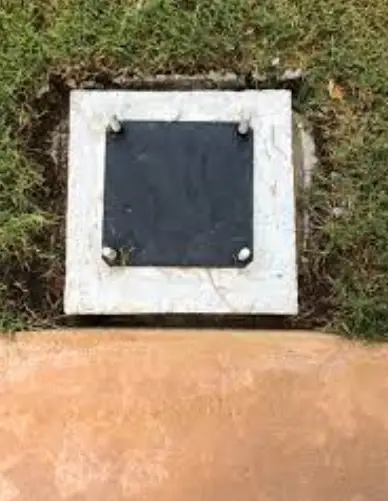
Locate two points on either side of your driveway or court where you will mount the pole to provide stability for your basketball hoop system. Measure and mark these spots with chalk or spray paint, ensuring they are level and square.
- Dig The Holes
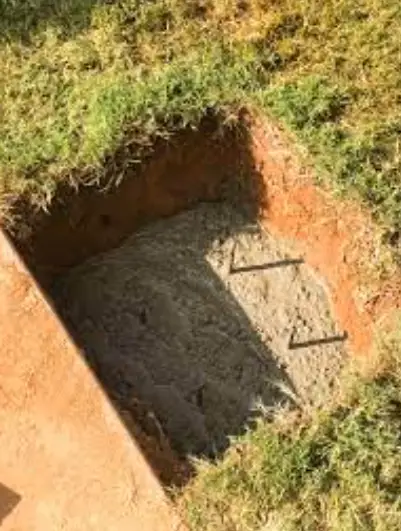
Use a post-hole digger or power auger to create two large holes at least 18 inches wide and 24-36 inches deep – depending on soil type – at each point.
Step2. Assemble The Pole
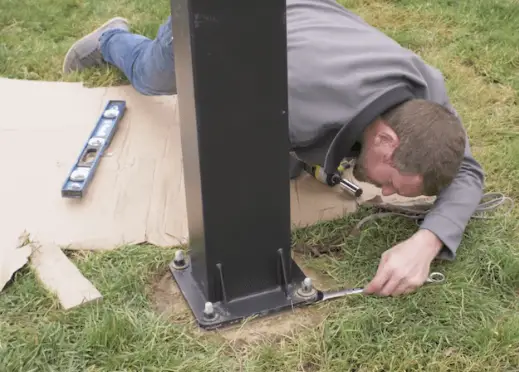
Lay out all of the pole pieces in order as outlined in the assembly manual, and make sure that each piece is lined up correctly according to its designated number.
Use four galvanized bolts with washers and nuts to fasten each section securely, slowly tightening them in a star pattern until they are firmly tightened into place while ensuring they remain level at all times.
Step3. Attach The Backboard And Rim
After ensuring that the pole is level, securely bolted to the foundation, and all components are tightened, it’s time to attach the backboard and rim.
Fit the board onto three of the four mounting points on either side of the pole. Securely bolt into place using a power drill. Then slide the rim up through the opening in the center of the board until it rests on top of the backboard frame. Securely bolt from inside with washers and nuts provided by the manufacturer.
Ensure each nut has been tightened to prevent any rattling or wobbling during play. Ensure you have enough clearance above the goal for players to shoot without the risk of hitting the underside of the board or other obstacles when shooting at the basket.
Step4. Fill The Base And Level The Base
To ensure that your hoop is stable and secure, it’s important to fill the base with sand or concrete mix until it’s at least two inches from being full. Once filled, use a leveler to ensure that all four sides of the pole are even and flush with the ground. Make sure that each side is perfectly horizontal.
How Much Does It Cost To Install A Goalrilla Basketball Hoop?
An in-ground system costs anywhere from $500 to $1,000, while a wall-mounted or portable system can range from $200 to $800. It’s important to note that these prices are just estimates – actual costs may vary depending on where you live and the materials you use for installation.
How Deep Should A Basketball Pole Be In The Ground?
It is recommended that you dig at least 2 feet of space for your Goalrilla basketball pole to be securely installed. The exact depth may vary depending on soil type and other conditions, but it should never be less than 2 feet. If possible, a 3-foot hole should be dug for optimal stability and strength.
How Long Do Goalrilla Hoops Last?
Goalrilla hoops are designed with materials that can withstand Mother Nature’s changing weather conditions and intense playing activity. The manufacturer also recommends regular maintenance, such as checking bolts and screws to ensure they remain tight; removing debris around the base; prepping it with rust inhibitors; and waxing metal components every couple of months to maximize lifespan. Your Goalrilla hoop will last 2-5 years with proper care and maintenance.
What Is The Difference Between Goaliath And Goalrilla?
The key difference between these two systems is size. The Goaliath features a 54-inch backboard, which makes it suitable for children or smaller spaces. It also has an adjustable height range from 7 feet up to 10 feet, allowing for hours of play with kids of different ages. On the other hand, the Goalrilla includes an impressive 72-inch backboard that allows for professional-level play on your court.
Can You Move A Goalrilla Basketball Hoop?
Yes, but it’s not as easy as picking up the hoop and taking it somewhere else. Moving this type of heavy-duty basketball system requires quite a bit of work and planning.
How far does backboard overhang court?
In basketball, the backboard overhangs the court by approximately 4 feet (1.22 meters).
Conclusion:
Installing a basketball hoop can be an exciting and fulfilling project to complete on your own. With the right tools and materials, it is a task that can be accomplished in one weekend and a chance for you to become familiar with the workings of your Goalrilla basketball hoop. To ensure the best possible results, take your time and read through all instructions beforehand.

Clyde Jackson III is a basketball coach and the founder of GCBC Basketball, a basketball-related learning and informational website that focuses on helping young players develop their skills on and off the court. With over 15 years of coaching experience, Clyde has worked with players of all ages and skill levels, from beginners to professionals.

