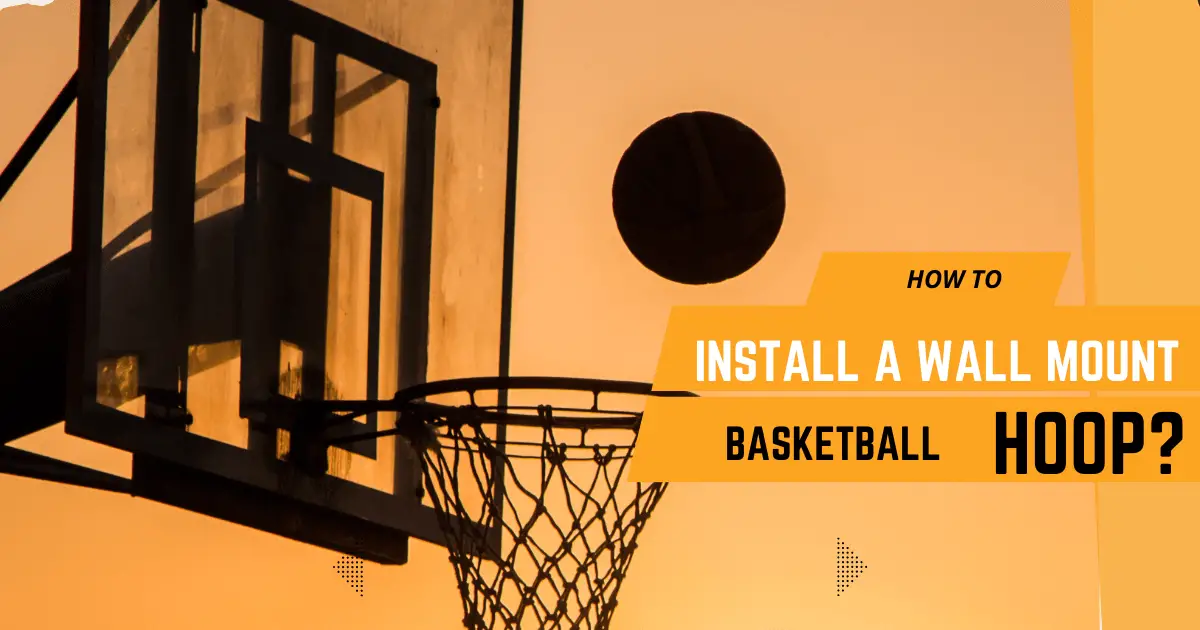
Installing a wall-mount basketball hoop is a relatively straightforward process that can be completed in a few hours. With a few tools and basic instructions, you can have your new basketball hoop up and ready to use in no time.
Installing A Wall Mount Basketball Hoop:

Here are step-by-step instructions on how to install a wall-mount basketball hoop.
Plan Hoop Location:

Find a location that is both level and firm. Once you have found an appropriate location, use a tape measure to determine the height of the hoop. Remember to take into account the overhang of the rim when measuring. Mark the location of the mounting holes with a pencil. Double-check your measurements before drilling any holes.
Tools:

You’ll need a drill, an impact driver, a ladder, and a tape measure. You’ll also need to ensure you have the correct drill bits for concrete or brick. If you’re mounting the hoop on a wooden surface, you’ll need screws and anchors.
Find A Stud To Install The Wall Mount:

Look for any nails or screws in the wall to find a stud. If you see any, that’s a good sign that there’s a stud behind it. The best way to do this is to use a stud finder tool. Once you’ve found a stud, mark the spot with a pencil, so you know where to drill the holes for the wall mount. It is also essential to ensure the wall mount is level before attaching it to the wall.
Install The Wall Mount Basketball Hoop:

Use a tape measure to determine how high the hoop should be installed off the ground. The regulation height for a wall-mount basketball hoop is 10 feet. Mark the four holes you’ll need to drill into the concrete or asphalt. Use a hammer drill with a masonry bit to create pilot holes, and then insert sleeve anchors into each hole.
Installing The Backboard And Rim:
Find the center of the backboard and mark it with a pencil. Using a drill, create pilot holes for the lag screws. Once the pilot holes are drilled, insert the lag screws into the backboard and tighten them with a wrench. Hang the rim on the backboard and secure it with bolts.
Check The Tightness Of The Equipment:
It is essential to ensure that all the equipment is properly secured. This includes checking the tightness of the screws, bolts, and other fasteners. If any equipment is loose, it could create a hazardous situation. To check the tightness of the equipment, start by inspecting the area around the equipment for any signs of looseness. If you see any areas that look loose, tighten them.
Portable Hoops:
Portable hoops are great for people who want to move their hoops around easily. These hoops can be moved from one location to another and set up in minutes. Portable hoops are typically made of plastic or metal and have a base that can be filled with sand or water for stability.
In-Ground Hoops:
In-ground hoops are designed to be installed permanently in one location. These hoops are generally made of metal or concrete and require professional installation.
In-ground hoops provide a more stable playing surface and are often used in competitive play.
Wall-Mounted Hoops:
Wall-mounted hoops are another option for a permanent basketball hoop solution.
Which Basketball Hoop Is Best?
Space And Budget:
A permanent hoop is always the best option if you have the space and the budget. They’re sturdier and will last longer. But a portable hoop is a good choice if you’re tight on space or budget.
Backboard Material:
Glass is the best option for durability and performance but is also the most expensive. Acrylic is a good middle-of-the-road option that’s less expensive than Glass but more durable than polycarbonate.
Rim Material:
You’ll need to decide on the rim material. Steel is the most common and affordable option, but it’s not as durable as aluminum or stainless steel.
Conclusion:
Installing a wall-mount basketball hoop is a great way to get active and have fun. It is essential to ensure that the hoop is installed correctly and safely to avoid injury. With a little planning and effort, anyone can enjoy the satisfaction of sinking baskets at home.

Clyde Jackson III is a basketball coach and the founder of GCBC Basketball, a basketball-related learning and informational website that focuses on helping young players develop their skills on and off the court. With over 15 years of coaching experience, Clyde has worked with players of all ages and skill levels, from beginners to professionals.
Related posts:
 How To Repair Basketball Hoop Base?
 How To Replace Basketball Backboard?
 How To Practice Shooting A Basketball Without A Hoop?
 How Much Do Basketball Hoops Cost?
 What Was The First Basketball Hoop Made?
 How To Use Base Gel For Basketball Hoop?
 What Is The Purpose Of The Square On A Basketball Backboard?
 Best Portable Basketball Hoop