A basketball hoop on your driveway is a great way to practice your basketball skills at home. Putting a hoop in a sloped driveway can be challenging since it requires some special considerations. Fortunately, with the right tools and knowledge, it is possible to construct an effective court that will last for years and provide hours of fun for family and friends.
Basketball Hoop On A Sloped Driveway:
Step 1. Preparing The Driveway
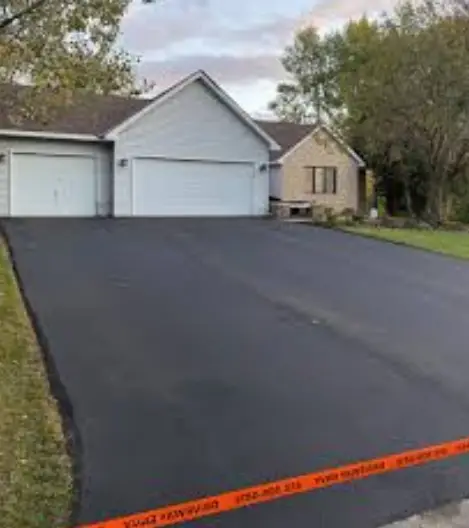
To properly install a basketball hoop on a sloped driveway, it is important to assess its slope first. If the incline is minimal, you may get away with simply adjusting the height of the backboard and pole so that one side sits higher than the other to create an even playing field. If this option isn’t available due to extreme slopes or pavement damage, you may need to fill in any low spots with gravel or sand and build up high areas with concrete blocks.
Step 2. Determining The Best Position
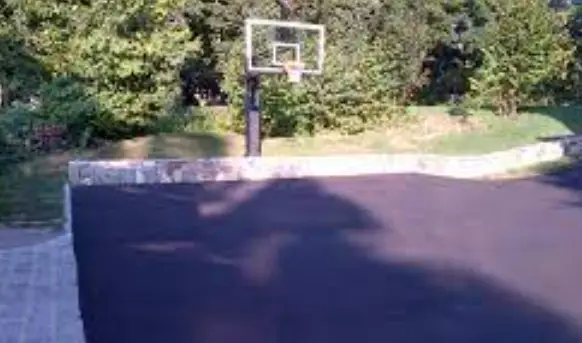
This step requires careful consideration of your current driveway and how it will affect the ball’s trajectory when shooting. Identify where the hill’s highest point is located and determine if this area offers enough space to install a hoop without obstructing other parts of your property or blocking your neighbor’s view.
Once you’ve identified an appropriate spot, consider the angle at which balls will be shot from this point. A steeper angle means you’ll need to adjust your hoop height accordingly so that shots aren’t too difficult or impossible to make. Additionally, consider nearby trees or power lines that could interfere with shots or damage the backboard if balls are launched into them.
Step 3. Installing The Post
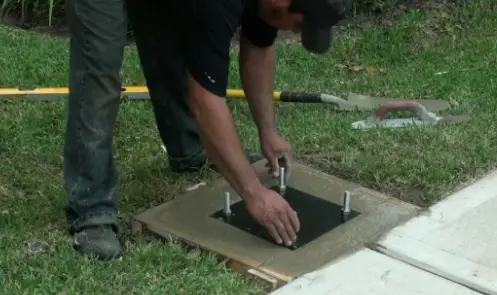
Dig your hole at least two feet deep and fill it with concrete mix until you’ve achieved your desired depth. Once dry, slide the post into place and secure it with steel rods around the base for extra support.
Step 4. Leveling & Backfilling
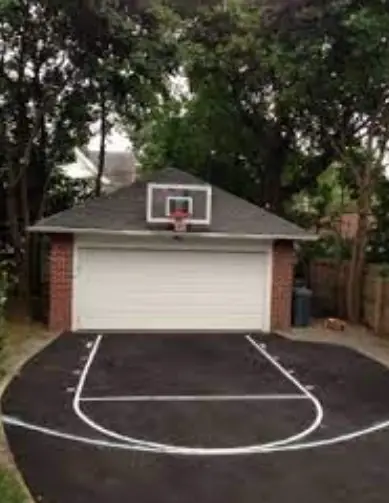
To level out an area for your basketball system, you must first use pavers or deck blocks and place them along each side of the hole where you plan to install your pole. Once they are placed evenly, you should place gravel or sand into the hole until it is below ground level. You may also want to compact this material before moving forward with the installation of your pole.
Step 5. Adding The Basketball Hoop
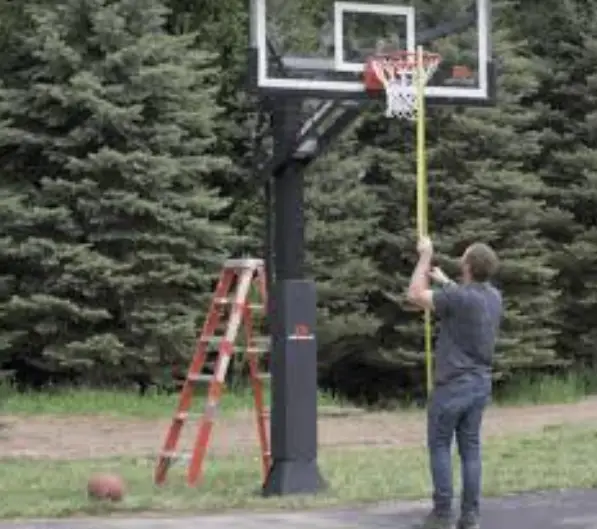
Your basketball hoop should be at least 8 feet away from any walls or fences for safety reasons. The backboard should also be placed at an angle so players can easily rebound shots off the backboard without having difficulty getting around it. Make sure your measurements are exact before drilling holes, and ensure everything is secure with screws and bolts.
Step 6. Finishing Touches
It is important to ensure that all previous steps have been completed correctly and all necessary components are installed. After ensuring that everything is in place, there are several finishing touches to complete the project.
It is important to ensure that the pole and backboard are securely fastened and firmly rooted into the ground. This will help maintain stability for years of playtime. If any decorative features were included during installation, such as padding or additional support pieces like braces, check those again for security and proper placement.
After all these items have been checked off your list, you can fill in any dirt or rocks around the base of the pole with mulch or soil for aesthetic purposes and to prevent weather damage over time.
Which Is Ideal For A Sloping Driveway – In-Ground Or Portable Basketball Hoop?
In-ground hoops provide the greatest stability and can withstand continuous hard play. They require installation into the ground – usually with concrete – so they have a much longer life expectancy than their portable counterparts. This makes them ideal for dedicated players who intend to use the hoop regularly. In-ground hoops are also larger and sturdier, making them well-suited for outdoor play over rough terrain such as a sloped driveway.
Best Basketball Hoops For Sloped Driveways:
Several great driveway basketball hoop are designed for sloping driveways and other uneven surfaces.
Silverback NXT Portable Basketball Hoop
The Silverback NXT Portable Height-Adjustable Basketball Hoop is a popular choice for those looking to add a hoop to their sloped driveway. With its adjustable height and easy portability, the Silverback NXT is perfect for any serious basketball player or backyard enthusiast. This hoop has an adjustable base that can accommodate different slope levels, making it ideal for anyone who wants to enjoy playing basketball on their driveway.
The Silverback NXT has been designed with convenience in mind, so you can move the hoop around your driveway as needed. It also features strong construction and anti-rust protection, allowing you to enjoy years of use without worrying about rust or other damage. You’ll be able to adjust the height up to 10 feet if needed, giving you plenty of flexibility when shooting hoops on your sloped driveway.
Silverback In-Ground Basketball Hoop
The Silverback In-Ground Basketball Hoop is a great option for any driveway. Its adjustable height feature and angled pole make it ideal for any driveway, even if it has a steep incline. Not only does this hoop allow you to adjust it to the perfect height, but its design also allows you to install it on sloped terrain without worrying about stability.
Spalding the Beast Glass Portable Basketball Hoop
Spalding is one of the leading basketball hoop manufacturers, and their Beast Glass Portable Basketball Hoop is a great option for people who want to play basketball on a sloped driveway. This unique hoop has been designed with an adjustable base that can be tilted up to 15 degrees to accommodate driveways with even the most drastic inclines easily.
The base also has a quick and easy fill system, allowing you to get your game started in minutes. Plus, the backboard is made of shatterproof tempered safety glass, ensuring all your shots will be true and accurate. This portable basketball hoop also has plenty of extra features that make it perfect for any driveway situation.
Where Should A Basketball Hoop Be Placed On A Driveway?
The best place for a basketball hoop on a sloped driveway is the flattest area possible. This will ensure that players can easily dribble up and down the court without any obstruction from bumps or inclines. If possible, try to find an area that creates a slight downward angle towards the basket so players can practice their shots more realistically.
How do you measure a basketball hoop?
To measure a basketball hoop, measure the diameter of the hoop’s rim. Standard rims have a diameter of 18 inches, while youth or smaller hoops may vary.
Conclusion:
Installing a basketball hoop in a sloped driveway is possible with the right knowledge, tools, and materials. It’s an easy job that can be completed in a few hours. Make sure to measure the slope of your driveway and do some research before buying your hoop to get the right model for your space. Ask friends or family members to help you out if you need assistance.

Clyde Jackson III is a basketball coach and the founder of GCBC Basketball, a basketball-related learning and informational website that focuses on helping young players develop their skills on and off the court. With over 15 years of coaching experience, Clyde has worked with players of all ages and skill levels, from beginners to professionals.

