A backboard is one of the most important pieces of basketball equipment. It carries a basketball hoop that is used to score points during a basketball game.
A basketball backboard is either mounted on a wall or a support pole. Both the in-ground and portable basketball hoops have support poles, and the backboards are mounted on them. On the other hand, wall mounted basketball hoops are attached to the backboards without the support poles.
These wall mounted basketball hoops are suited for both indoor and outdoor play. You can mount them on the wall of your garage, home, driveway, and more.
If you are planning to make your own basketball playing area but have limited space, the wall mounted basketball hoop is the best choice.
In this article, we will guide you on how to set up a basketball backboard on the wall.
Things you need to Attach Basketball Backboard to the Wall
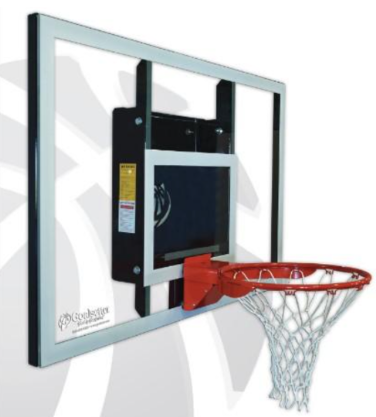
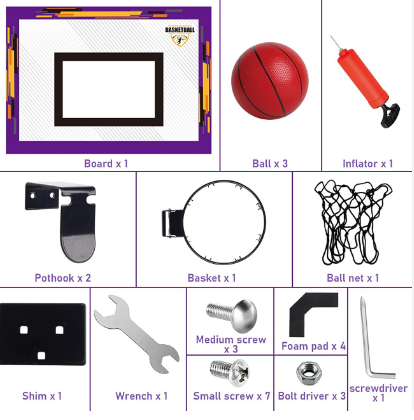
- Backboard
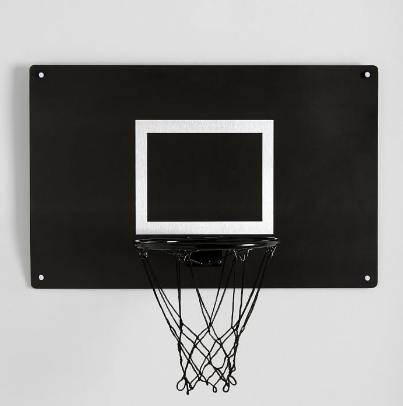
Basketball Backboard - Mounting Bracket
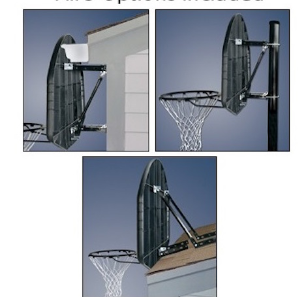
Mounting Bracket Of Basketball Backboard - Screws, nuts, bolts, and washers
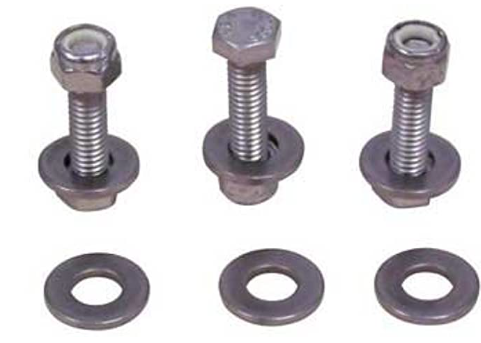
Screws, nuts, bolts, and washers - Power drill
Drill to Attach Basketball Backboard - Screwdriver
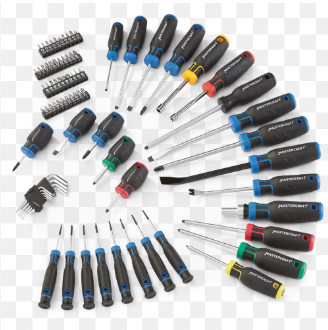
Screwdriver to Attach Basketball Backboard - Wrench
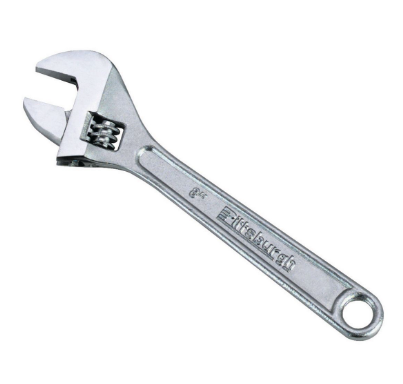
Wrench tool to Attach Basketball Backboard
Steps to Install Basketball Backboard on the Wall
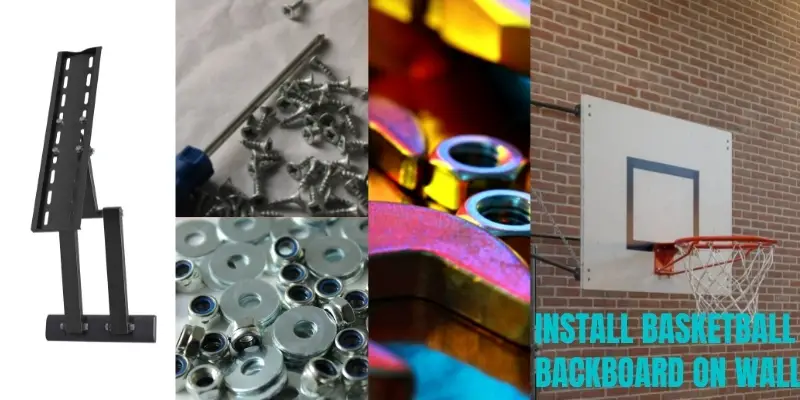
Follow the below-mentioned steps to install the backboard on the wall.
- First of all, you need to select a particular wall to mount your backboard. Make sure the selected wall is best from all the angles because you won’t like it to remove your backboard from the wall to install it to another place.
Check the structural integrity of the wall to make sure it is solid and can handle physical pressure. A flat and straight wall without any angles or slopes would be ideal for installing a wall mounted backboard.
- Next, it’s time to fix the mounting bracket into the wall that comes along with the backboard. For this, you need to locate studs in a wall by using a stud finder.
Then, drill holes into the wall and attach a mounting bracket to the wall with the help of screws. You can either use a screwdriver or a power drill to turn the screws.
- Gather all the nuts, bolts, and washers to attach the backboard to the mounting bracket. Use a wrench to tighten every bolt and nut. Make sure the nuts and bolts are attached correctly and securely.
Never try to mount the backboard alone. Take the help of one of your family members or friends to hold the board while you tighten the nuts and bolts.
- If your backboard has no mounting bracket and you don’t want to purchase it either, you can attach the board directly to the wall. The pre-drilled holes in the backboard will help you drill holes into the wall. Next, insert screws into the holes and attach the backboard to the wall by tightening up the screws.
- Your backboard is now installed successfully. Now, it’s time to attach the basketball hoop to the backboard. Your backboard will have pre-drilled holes for the hoop. Attach the hoop to the backboard, insert screws into the holes, and tighten them up to fix the hoop.
Conclusion:
The wall mounted basketball hoop is a space-saving option that can be used both indoors and outdoors. If you need to make your own court but don’t have a lot of room, install one of these wall-mounted backboards on the garage or home’s exterior wall and start playing. We hope this article has helped answer questions about how to install one of these hoops on your garage or home walls so it’s ready for action.

Clyde Jackson III is a basketball coach and the founder of GCBC Basketball, a basketball-related learning and informational website that focuses on helping young players develop their skills on and off the court. With over 15 years of coaching experience, Clyde has worked with players of all ages and skill levels, from beginners to professionals.

